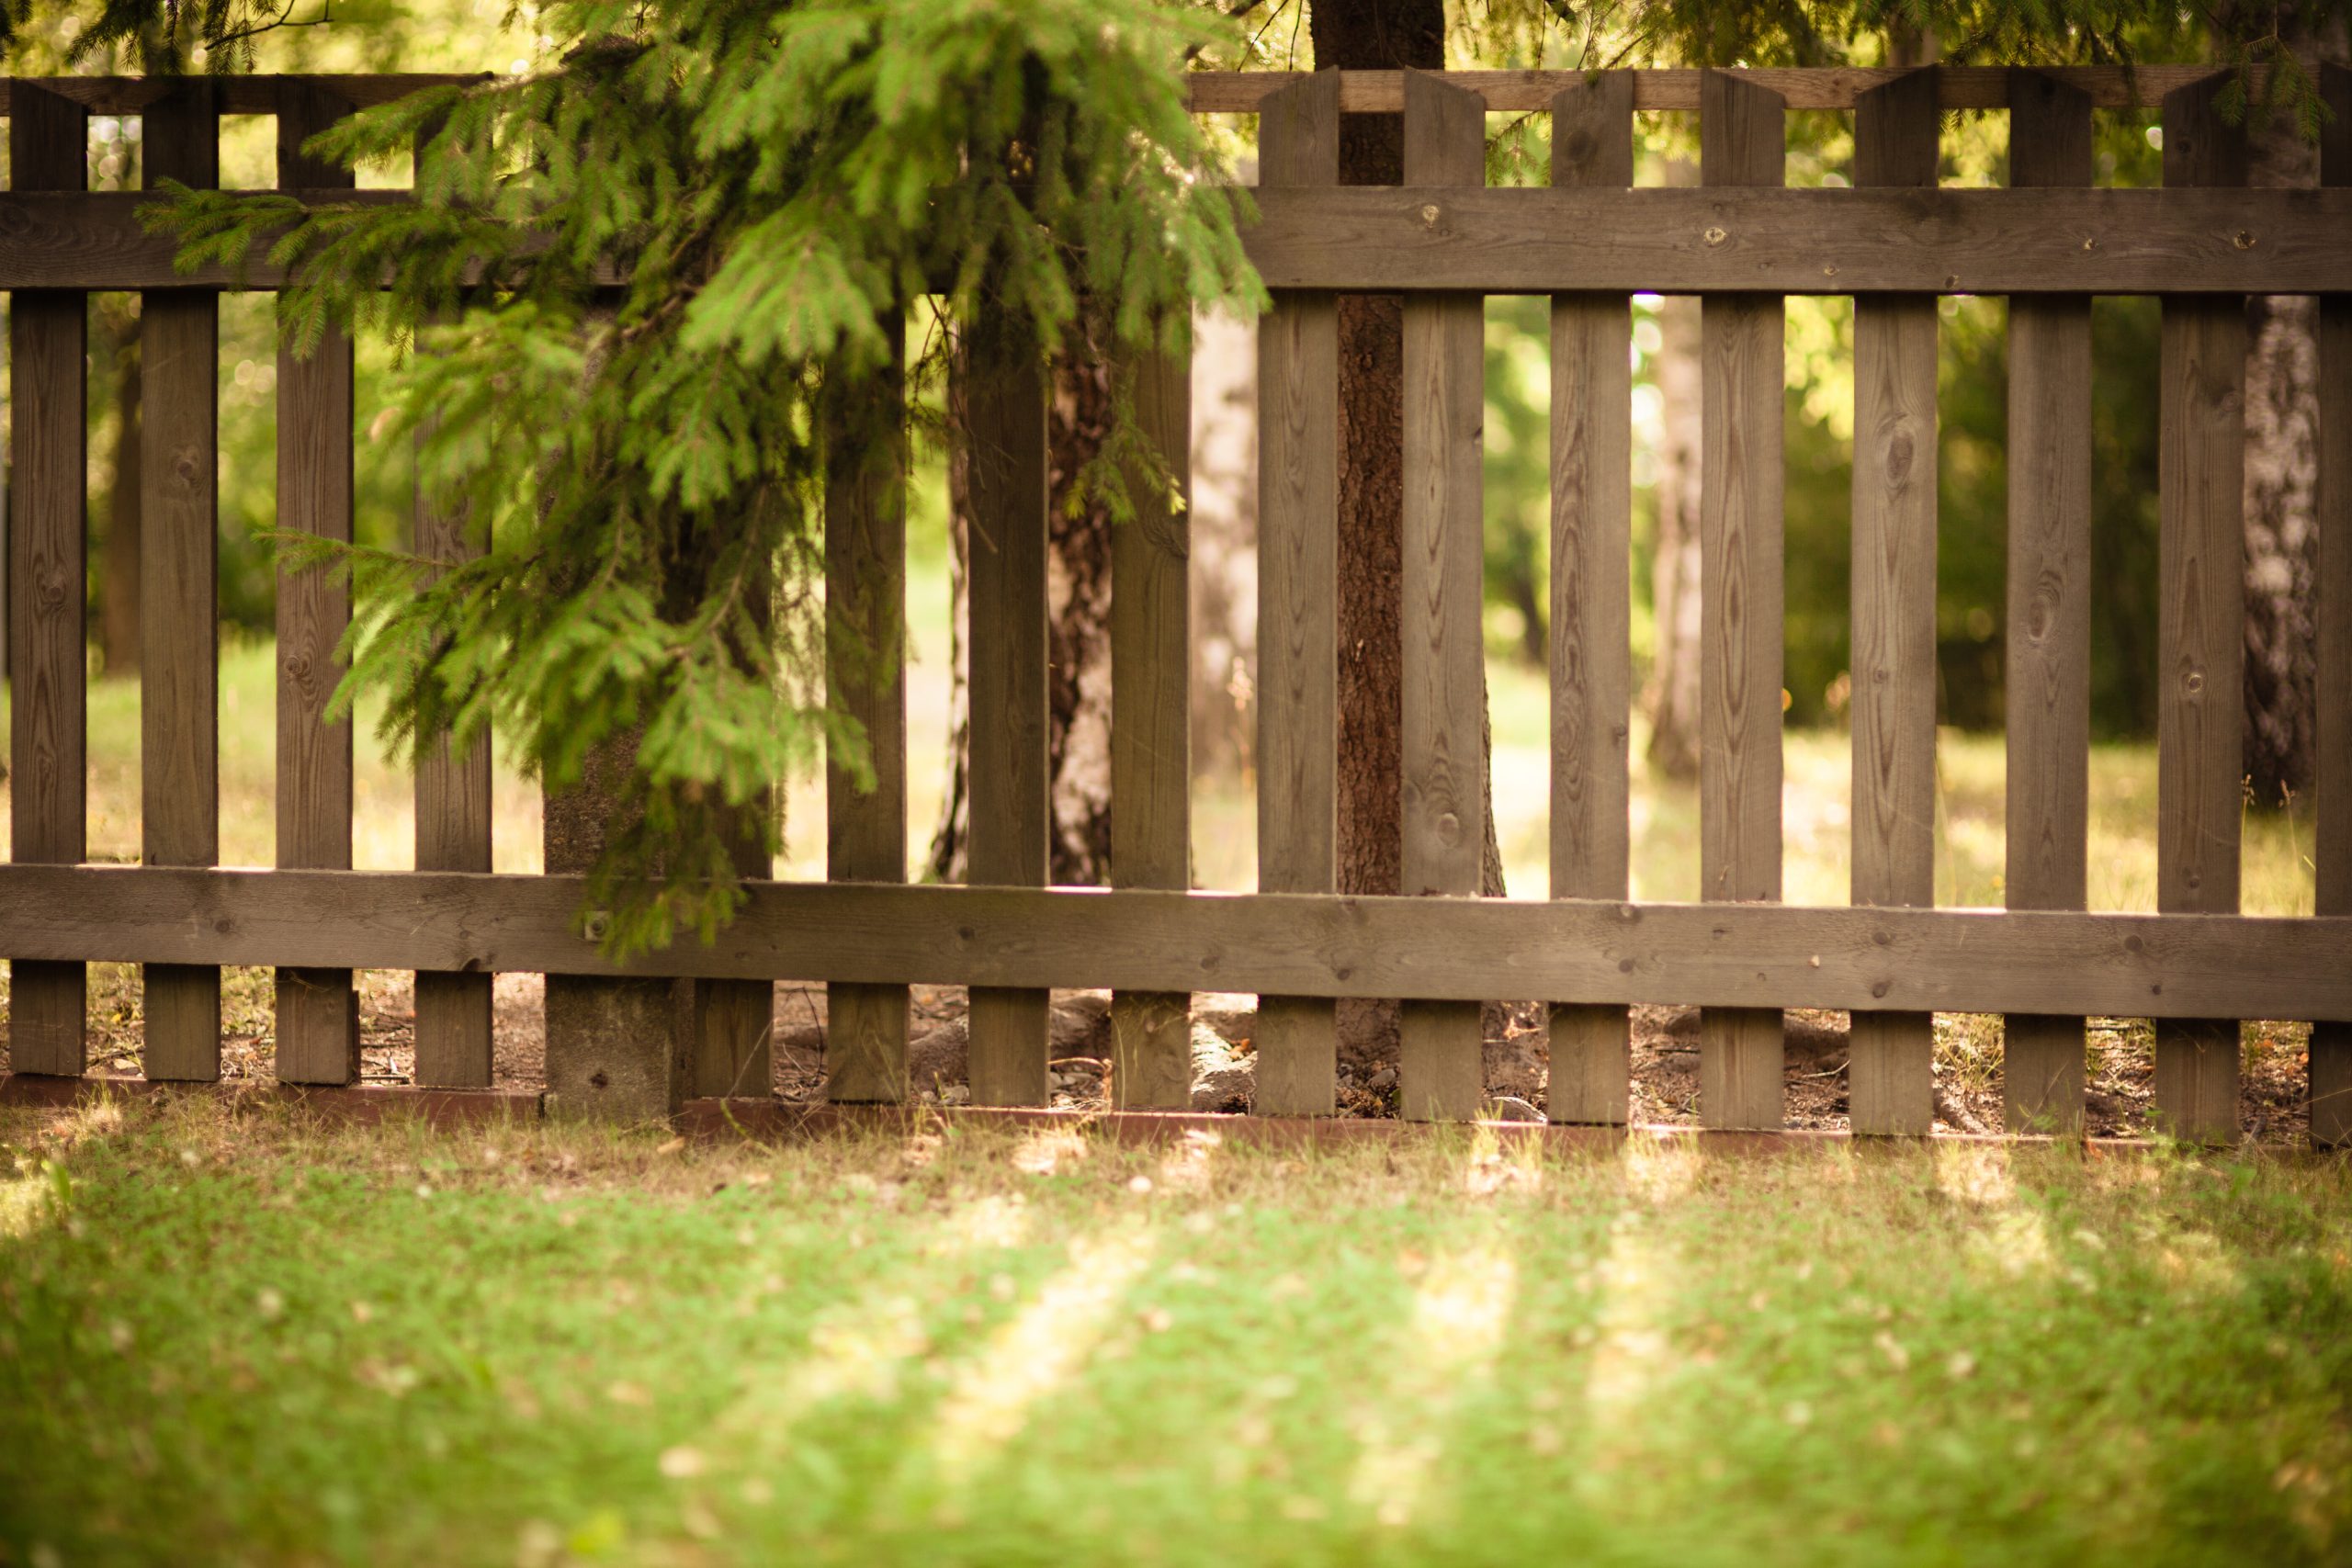
When you think about it, your home’s wooden fence goes through quite a lot.
During the colder months it stands strong against morning frosts, icy winter winds, and sleets of rain and hail. Then when the weather warms up, it contends with the baking humidity and scorching sun of summer. And it does all of this while helping to protect your home from intruders, animals, and of course the elements.
It’s not surprising then, that after years of use, your wooden fence may be looking a little worse for wear. Fear not though, there are some simple things you can do, to revitalise and reenergise your home’s wooden fence.
The first step is to give your fence a thorough inspection. Keep an eye out for mildew, chipped wood and peeling paints, these are the most common problems associated with wooden fences, and can be remedied with a little DIY.
Give special attention to the base of each post, and the lower rails – these areas, close to vegetation, are the most common places for rot. Should you find rot, more comprehensive repairs or replacement sections may be required.
We recommend giving your wooden fence a complete inspection at least once a year in order to keep it looking its very best.

Step 1: inspecting your fence.
Problems such as mildew stains, dirt marks, and grime build-ups can be resolved with a good clean.
If the blemishes are particularly extensive, you may want to use mould remover. But for most applications soap, water, and a hose will be sufficient.
Simply, fill a bucket with warm soapy water, and get to work! Scrub until your fence posts are free from markings and stains. Then to finish, rinse your fence off with cold water from a hose.
Alternatively, you can hire a high pressure cleaner, which will make the job easier, however this will of course incur an extra cost.

Step 2: detail cleaning your fence
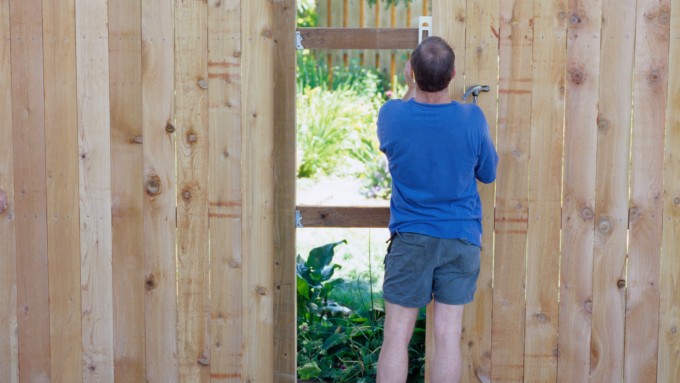
If during your inspection, you find parts of your fence that are broken or beginning to show the first signs of rot, they will need to be replaced.
You can purchase replacement materials from your local hardware store. And there are a number of DIY websites online that will help to guide you through the process step by step.
Most likely you will be replacing your fence’s main posts, these fence parts which are driven into the ground, are usually where rot begins. In any case you should pick up on any trouble spots during the inspection of your fence.

Step 3: replacing damaged sections
Depending on the condition of your fence, you can either touch up the problem areas, or give your whole fence a new stain or coat of paint.
Regardless of which you choose, you’ll need to sand back the old paint or stain. You may also consider treating the wood, so that the new paint job lasts longer.
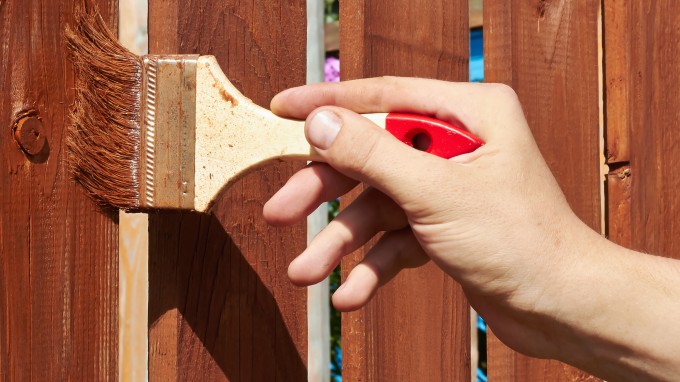
You can repaint using a brush, roller or paint sprayer. Just remember to be mindful of weather conditions. If your new paint job doesn’t dry fast enough, or gets rained upon, you may very well have to start again from the beginning!

Step 4: paint or stain your fence
While cleaning, section replacement, and repainting can revitalise your fence and add to its life, there are unfortunately a number of issues that cannot be repaired.
If your fence features extensive rot or there is serious damage to its structural integrity, then it may be time to consider cutting your loses and starting again.
Of course, installing a new wooden fence gives you the opportunity of a clean slate. If the problem was rot, you can choose a new inherently rot resistant timber like redwood or cedar.
Wood that’s been pressure-treated can be rot resistant almost indefinitely, and there are also a number or wood alternatives like steel which will not rot.

Step 5: When all else fails.