There are many factors that will shorten the life of your fence, including susceptibility to mould, UV rays and termites. Not only does staining your fence give your property a fresh new look, it also protects your wood from these elements, which will in turn extend the life of your fence.
Follow our tips below to get a grasp on how to stain your wooden fence for the first time.
Prep the Wood’s Surface
Before you begin, take the time to thoroughly prep the surface of your fence: remove any cobwebs, scrape dirt off and clean it with warm water. You may need to sand the rough areas of the fence to ensure it is as smooth as possible. Look for any insect damage that make have already happened if it is an older fence.
Choose the Right Materials
There are three types of stains to choose from: transparent, semi-transparent and opaque. Choose the type that best suits the look you are trying to achieve and complements the rest of your property.
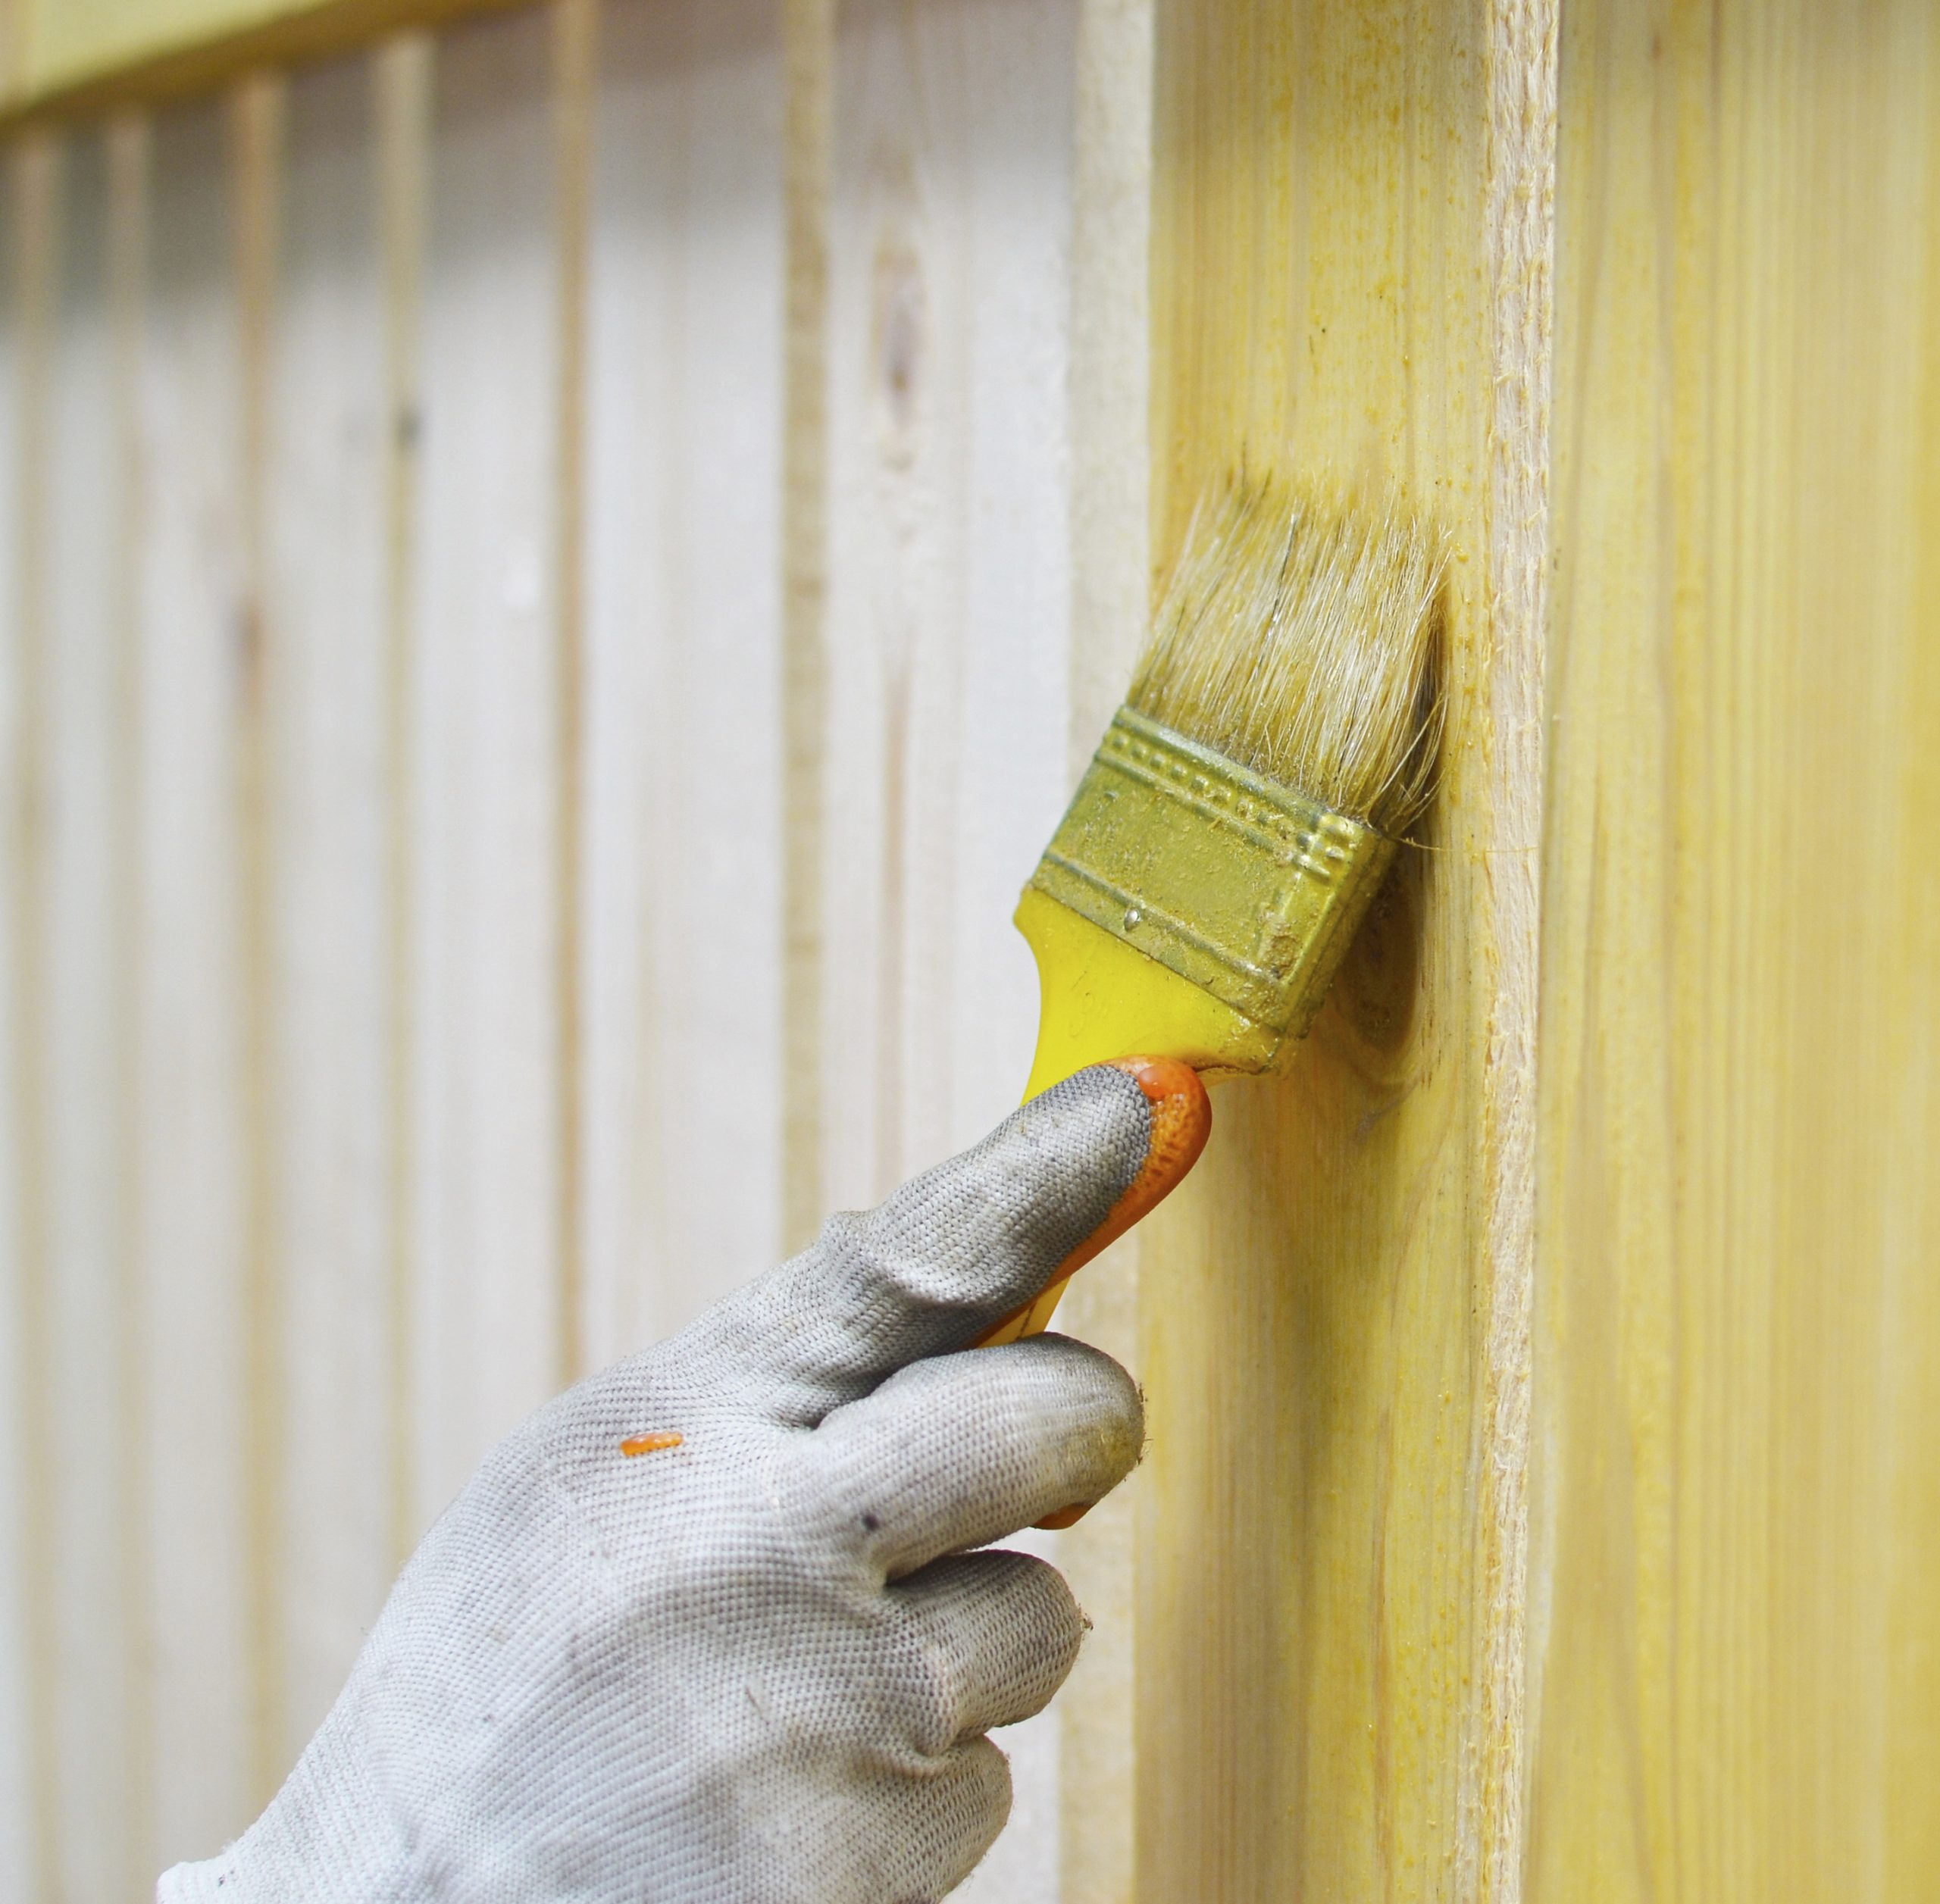
Using quality materials will make the task easier for you; invest in a paintbrush that won’t lose its bristles, as well as a rolling brush. Having both a large and small paintbrush will help you reach all of the areas of your fence, including corners and crevices. While you won’t need to worry about the mess as much as you would inside your home, placing cardboard or a plastic sheet under your fence will help you avoid getting your brush dirty or paint dripping onto the ground.
Use Primer
For the stain to absorb into the wood properly, use an oil-based or water-based primer for your fence first. This protects your fence from rotting and binds the colour to the fibres of your fence, elongating the colour’s vitality. Allow the primer to dry completely before moving on to the next step. Ask a fencing specialist which primer is best for your type of wood.
Apply the Stain
Use the rolling brush, starting from the top of the fence to the bottom to avoid excessive dripping, and the smaller brush for hard-to-reach areas. You may need to apply multiple coats when staining your fence for the first time to ensure it binds properly. Allow the first coat to dry completely before moving on to the next coat.
While staining your fence may seem like a daunting task, it will be well worth it when you are reaping the benefits of a protected fence with a longer life.
